You can create order templates for Corporate Accounts to define specific production characteristics for orders. Users can choose from the order templates in Step 1 of the AdHoc workflow. Order templates may be added, edited, or deleted when desired.
Note: In order for Order Templates to be displayed, the “Enable Order Templates” need to be checked in the AdHoc Workflow settings.
Use the following steps to add an order template:
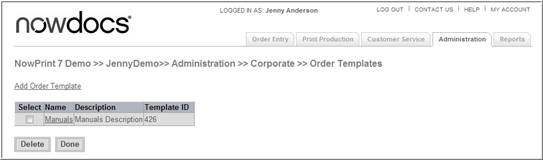
Click the Admin link from the NowPrint homepage.
Click the Edit link under the Order Templates option.
Click the Add Order Template link.
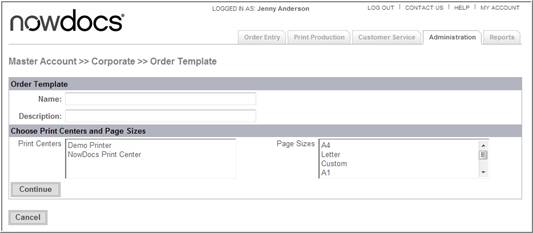
Use the Name field to specify a name for the order template.
Enter a description for the order template in the Description field.
Use the Print Centers menu to select the print center to which the order will be routed.
Use the Page Sizes drop-down menu to specify a page size.
Click the Continue button. The system opens a new screen.
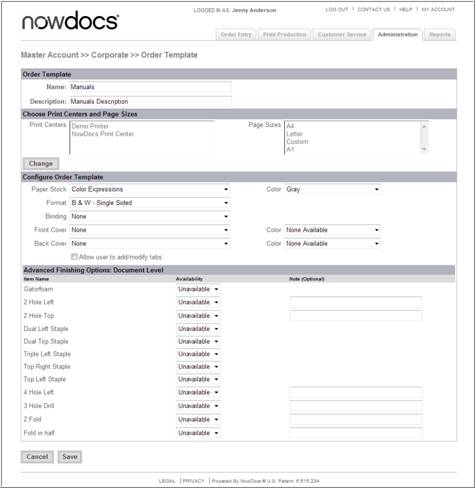
If you would like to change the Print Centers or Page Sizes, click the Change button and follow the steps above.
Use the Paper Stock and adjacent Color drop-down menu to select the paper type and color.
Use the Format drop-down menu to choose the format method.
Use the Binding drop-down menu to choose a binding.
Use the Front Cover and Back Cover and adjacent Color drop-down menus to select covers.
Select the Allow user to add/modify tabs checkbox if you would like users to have the ability to add tabs to the document during the ordering process.
Use the Advanced Finishing Options: Order Level fields to select specific finishing options to be applied at the order level (i.e., for all documents in the order as a whole). The Note field beside some of the finishing options can be used to enter any special notes or instructions.
Use the Document Level Finishing Options fields to select specific finishing options to be applied at the individual document level. The Note field beside some of the finishing options can be used to enter any special notes or instructions.
Click
the Save button.